In this post we are going to create a ping sweep script with Python. First I will explain what a ping sweep is and why it’s useful. Then we’ll make the ping sweep script step by step. Lastly I’ll show you a script that is made using the ‘pythonping’ module.
I’m not saying that these are the best ping sweep scripts in Python. There are probably ways to create a ping sweep in python that are faster and more optimized.
What is a ping sweep and what is it used for
A ping sweep is a technique that may be used by hackers during the reconnaissance phase of an attack. With a ping sweep you can scan a range of ip addresses and see if they are live. You are sending ICMP packets to the addresses and if you get a response you know they are live and connected to the network.
Hackers may use a ping sweep to find potential victims on a local network.
Do ping sweeps cause suspicious traffic?
Ping sweeps do cause some abnormal traffic on the network and may be recognized by an Intrusion Detection System. They do not cause any harm by themselves but do fall under ‘Active Reconnaissance’ because they involve interaction with the potential target. The chance of detection is higher within enterprise networks because they are more likely to have an intrusion detection system in place. Ping sweeps are unlikely to be detected in places like hotels or coffee shops however.
How do ping sweeps work
First a range of ip addresses is needed, for example 192.10.1.1 until 192.10.1.100. Then ICMP packets will be sent to each of the ip addresses in this range, one by one. When we receive a response from an ip address it means it is online. The script will print its address for the user.
So we know that the following elements should be present in the Python script.
- A way to get user input for the ip range that needs to be scanned.
- A for loop to send ping packets to each ip in the range
- A check of the response to see if the scanned target is online
First Python ping sweep script
We are now going to create the first script. I will divide the process in small steps.
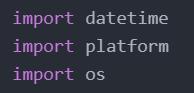
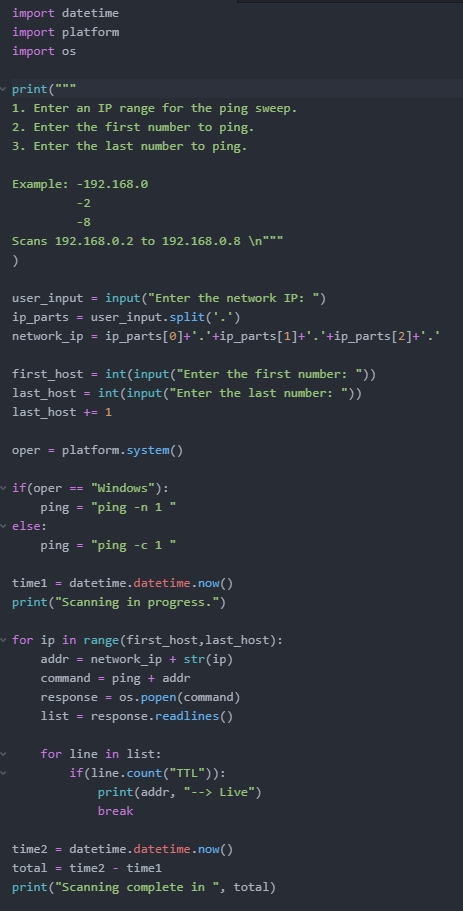
First we need to import the datetime, platform and os modules.
Now we will let the user enter the network IP address.

Then we split the address the user entered. Now the different parts of the IP address will be added to a list.

We manually add each part together again and separate it with a dot. This is so that if a user accidentally added a complete IP address it won’t be a problem. We only use the first 3 parts of the address for the network address.

Here we let the user enter the number of the first and the last host that need to be scanned. The last host is incremented with 1 so that the last host will be included in the scan. (By default a for loop doesn’t include the last number)

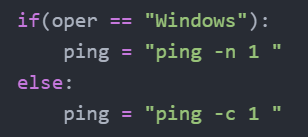
Platform.system() checks the operating system the script is run on, Windows, Linux or Mac. We save the result in the ‘oper’ variable.

The reason we saved the name of the OS is that the ping command is slightly different for Windows and Linux.
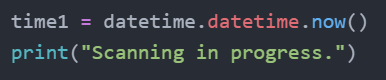
Save the current time and let the user know that the scan is starting.
Scanning the ip range
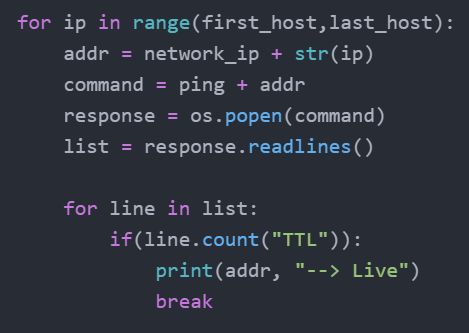
This is where the scanning happens. The code is a bit longer but don’t worry. Let’s look at each for loop separately.
- First we give the range of the for loop.
- We set the ip address to be scanned by adding the network ip and the number of the host together.
- Then we prepare the ping command and save it in ‘command’.
- We execute the command with os.popen() and save the response in ‘response’.
- Then we make a list of the response with response.readlines() and save it in a variable.
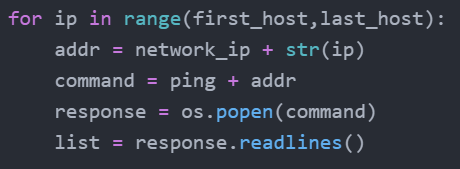
This was all done for one ip address.
Now comes the second for loop, still for the same ip address. This one checks if the current ip is live.
- We go through each line in the response.
- With count() we can see if “TTL” appears anywhere in the response. If that is the case it means we received an ‘ICMP echo reply’. This means that the target is live.
- We print that the target is live and break this for loop.
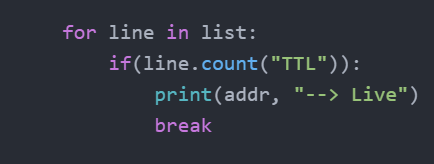
Now this repeats for the next ip address until every ip was scanned.
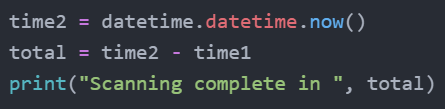
Finishing the script
We record the time at which the scan has ended. Then we subtract the start time from the end time to see the difference and know the duration of the scan. Lastly we print ‘the scanning has completed in’ + time.
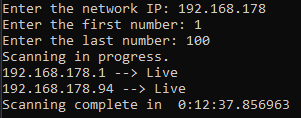
At this stage the output is like this:
Adding instructions
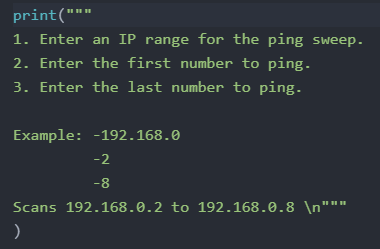
In python you can print a multi-line string by using triple quotes. We can use this to show some instructions when you run the script.
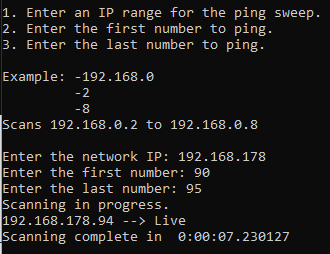
Now this is the output:
Complete script:
Second Python ping sweep script
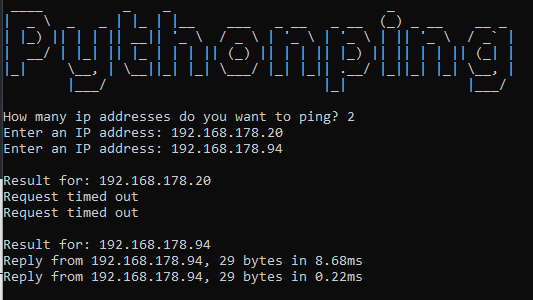
We will now quickly take a look at a second script that was made using pythonping, a python module. With this script you can say how many ip addresses you want to scan and then enter them manually. They are saved in a list and then pinged one by one.
To make this script work you need to install the pythonping and art module:
- pip install pythonping
- pip install art
Tip: Name the script something other than ‘pythonping.py’ because if you name it that, you will get a circular import error.
Complete script:
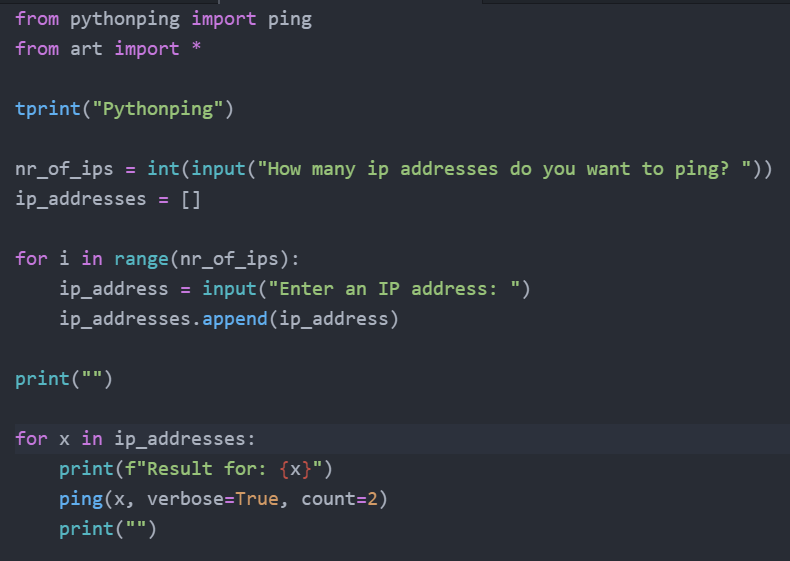
What this script does:
- Print a nice looking title.
- Ask how many ip addresses you want to ping.
- Let you manually enter each ip address to ping and add them to a list (first loop).
- Send 2 ping requests to each ip address you entered (second loop).
The output looks like this: